
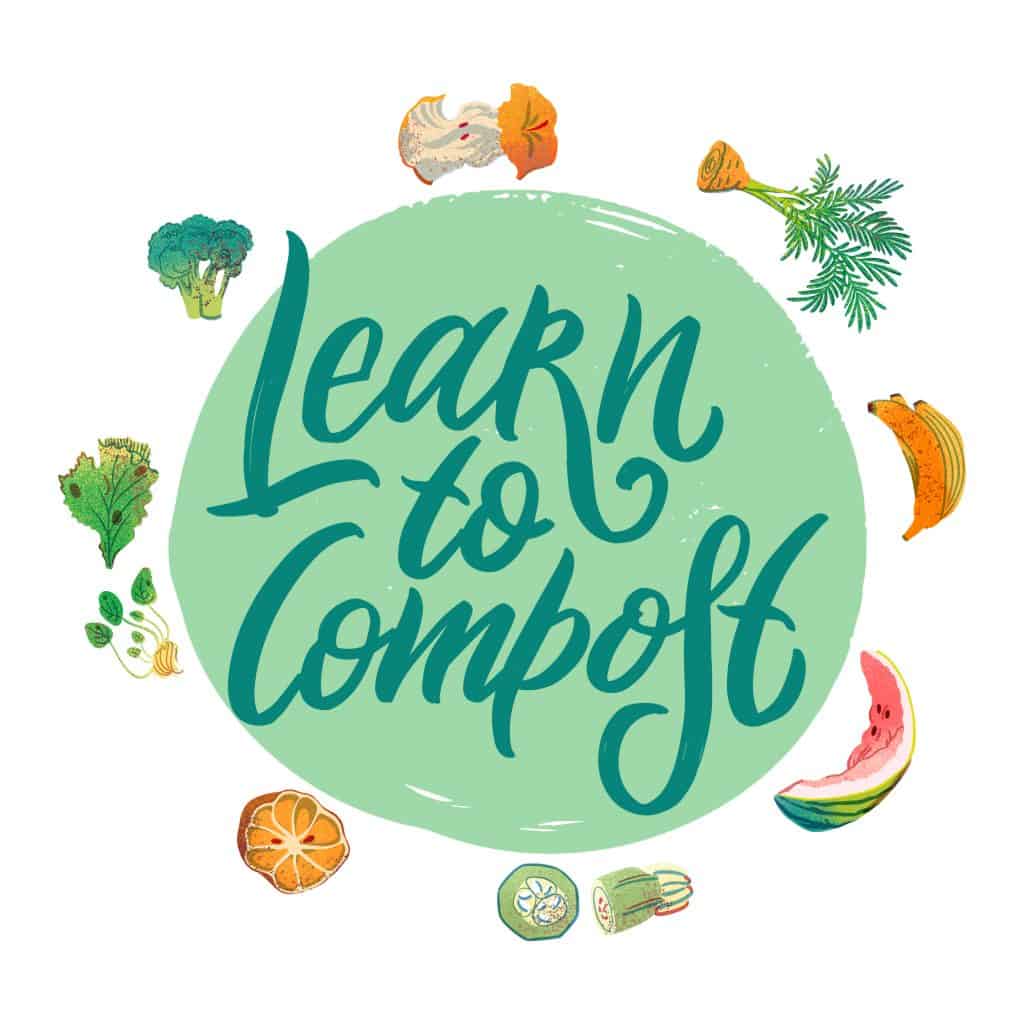
How to start your home compost
Composting is one of the world’s most natural recycling systems. See here the difference between recycling vs composting. It is a process where living micro-organisms break down organic matter like fruit, vegetables, branches, leaves, compostable packaging, etc. into compost, or rich soil. It can be used to add nutrients or fertilize your soil. There are lots of ways to create your own home compost, but the main components of every healthy compost are: organic waste, heat, airflow, and microorganisms.
#1 – What should you put your compost in?
If you have a backyard, choose a location for your compost bin. A dry, shady spot is best. Place your composter directly on the earth to avoid compost runoff that will accumulate.
If you live in an apartment, you’ll need a well-insulated container with two lids. Poke holes in the bottom for airflow, then cover the bottom with the second lid to prevent leakage. You’ll need to introduce some worms, the most common bio-organism used in apartment compost are red wiggler worms.
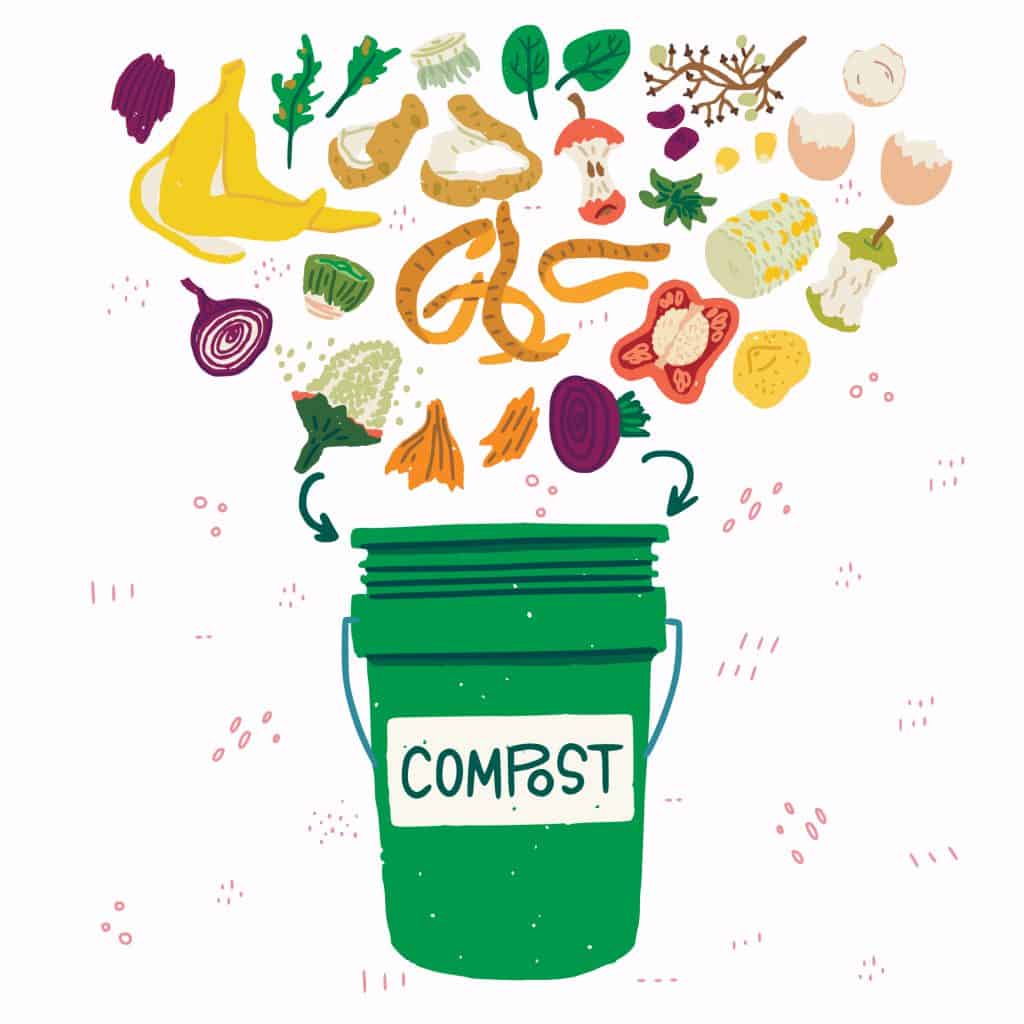
#2 – What goes in your compost?
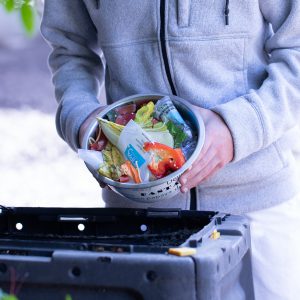
A great compost has a balanced ratio of “browns” (carbon) and “greens” (nitrogen) in order to break down properly. Many people find the best ratio is 1 part “green” to 2 parts “brown.” Which means, if every layer is about the same height, you’ll want a 2:1 ratio of browns to greens. To start your compost bin, first, place 2 layers of browns, then a layer of greens, then another 2 layers of browns, and on and on, until your compost is full.
When it’s filled to the top, cover it and keep it covered so it stays warm, fluffing it to let air get through every few weeks. In order to speed up the disintegration process, you can cut up or rip up your browns and greens, making it easier and faster for micro-organisms to digest.
Greens:
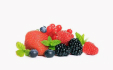
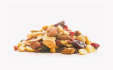
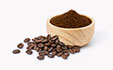
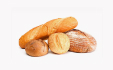
Fruit and vegetable scraps, non-greasy food scraps, leaves, manure, coffee grounds, nuts, seeds, cut flowers, tea bags, etc.
Browns:
Dead leaves, cornstalks, straw, compostable packaging, uncoated paper bags, paper towels, napkins, eggshells, etc.
#3 – How do you maintain your compost?
Keep your compost balanced, wet as a wrung-out sponge, aerated, and covered. If it gets dry, add water or more wet waste. If it gets too wet, add dry leaves, twigs, cardboard, etc. Every few weeks, fluff it to keep the air moving.
#4 – How do you know when your compost is ready?
Your compost is ready when it is dark brown in color and you can’t recognize the original ingredients. It will look like rich, dark soil. If you have a few bits of twigs or eggshells, that’s ok. If you want it to be fine or soft, you can strain it through a sieve.
#5 – Where can you use your compost?
Use finished compost to spread on vegetable plots, potted plants, or in flower beds to improve the soil by spreading over dry or nutrient-low dirt. You can also use compost to create your own potting mixture for planting flowers, vegetables, or saplings.
Compost don’ts:
Do not place greasy foods, meat, chicken, fish, fats, oils, or dairy in your compost to avoid pests, rodents, and stinky compost.
Do not overpack your compost. Make sure it has room to breathe.
Compost do’s:
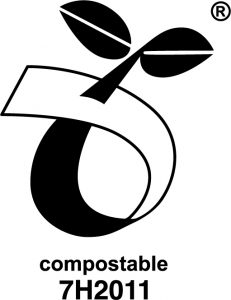
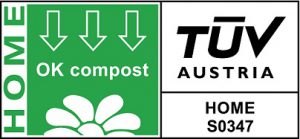
Do place your home compostable TIPA® packaging in your compost. To find out if your bag is home compostable, check the labeling on the front. If it is certified to one of following standards, it’s OK to home compost:
There are so many ways to compost!
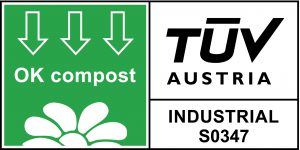
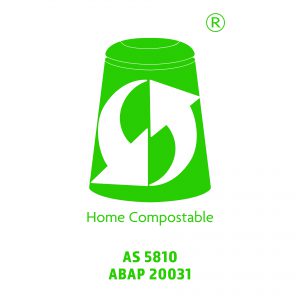
If you have access to industrial compost, you can include TIPA® compostable packaging in your compost. Check the label to find out if your package is home or industrial compostable, both can be sent to industrial compost. If it is certified to one of following standards, it’s OK to send to your industrial compost:
![]()